Showing posts with label Radiant Neon. Show all posts

Clearly Whimsy Stamps January Release Blog Hop

Hi everyone and happy Saturday :)

Welcome to the ... Clearly Whimsy Stamps January release BLOG HOP!


The CWS design team have been sharing some amazing creations made with these new stamps and dies over the last couple of days, and today we are celebrating their release with a GRAND BLOG HOP! 

The hop starts today (Saturday January 17th at 8.00AM ET) and ends on Wednesday January 21st at midnight EDT. 

If you would like to hop along with us today, please CLICK HERE to start the hop at Amy's blog. Here is a complete blog hop list in hopping order:

Whimsy blog 
Amy Kolling 
Sylvia Blum 
Heather Pulvirenti 
Jen Carter 
Kristie Goulet 
Becky Carafa 
Alanna Moses 
Debbie Eastman 
Denise Lynn


PRIZE ALERT ... We have hidden a fabulous prize of a $25 GIFT CERTIFICATE at one of the stops on today’s hop! 
We will draw the lucky winner from the comments left here and on today’s design team posts, so be sure to visit everyone and leave a comment to be entered into the draw. 

Please visit the Whimsy blog for a full reveal of this month's new release. The entire new release is available to buy from the Whimsy Stamps store RIGHT NOW, and if you love our new clear line as much as we do, why not ask your LSS to stock it! 

We are running a special promotion until Sunday 18th January, and have discounted everything in this release by 10%!! Whimsy Stamps also offers FREE SHIPPING for US orders over $75.


And here is my card for today :)


The stamp sets I used in my very bright and fun Birthday card are "Birthday Balloon" and "Basic Borders 2".

And here is how I did the card: 
First I cut a square panel from white cardstock approx 1/2" smaller than the cardfront.
Then I stamped the checkerboard border in pink Neon inks around the panel to create a frame.
I stamped the dog balloon and "awesome" sentiment with Memento red inks onto a piece of scrap cardstock and cut the banner word as well as the balloon out, trimming closely.
I stamped the "awesome" sentiment again, this time directly onto the card front with Versafine black ink and mounted the balloon and "awesome" banner word with dimensional foam tape onto the card front.

Et voila... there you have a bright and fun Birthday card ;-) 


Finally, we would like to let you know that our friends over at StampNation are celebrating their 4th birthday this week and Whimsy Stamps is one of their sponsors! As well as giving away some great prizes, we also have a special offer for StampNation members - you can find details about this on the StampNation site. We hope you've enjoyed this release! Thanks so much for stopping by today!


Sylvia xx


    Supplies
  • stamps - Clearly Whimsy Stamps - Birthday Balloon, Basic Borders 2
  • inks - IMAGINE Crafts/Tsukineko: Radiant Neon Electric Pink; Memento Love Letter; Versafine Onyx Black; Memento Marker London Fog
  • others - white cardstock, heart rhinestones, dimensional foam tape

Clearly Whimsy Stamps January Release Sneak Peek Day #1

Hi everyone happy Thursday :)

Welcome to the first sneak peek day of the Clearly Whimsy Stamps January 2015 release


Over the next 3 days we will reveal our *BRAND NEW* Clearly Whimsy Stamps release! 
We are releasing 6 new clear stamp sets and 8 coordinating die/die sets this week, and they will be available to buy from the Whimsy Stamps store TODAY and selected Whimsy Stamps retailers on Saturday! 

Today we are revealing the Birthday Balloon 3x4” stamp set together with its coordinating Birthday Balloon die, a standalone Birthday word die, Up Up and Away 4x6” stamp set and its companion Up Up and Away Sentiments 3x4" stamp set, together with a coordinating Up Up and Away die set and a Stitched Clouds die set. 

Hop on over to the Whimsy blog for more details.


And here is my sample card for today :)

The stamp set used in my sample is the adorable "Birthday Balloon" stamp set and I also used the "Birthday Large Word" die. Oh how I love those large word dies from Clearly Whimsy Stamps.

And here is how I did my simple card: I repeatedly stamped the "happy" word with pink and orange Radiant Neon inks on a white panel.
Then I die cut the "Birthday" word several times from white cardstock. I colored one of the cut out words with blue Radiant Neon inks and then made a stack from the die cut words with the blue one on top. 

I have seen the amazing Jennifer McGuire teaching this technique of using die cuts and wanted to try it since I saw it the first time, but never did. Now that I finally managed to try it here on this card with the beautiful "Birthday Large Word" die, I really like the result a lot! :)


We are running a special promotion until Sunday 18th January, and have discounted everything in this release by 10%!! Whimsy Stamps also offers FREE SHIPPING for US orders over $75.


PRIZE ALERT 
We have hidden a fabulous prize of a $15 GIFT CERTIFICATE at one of the stops on today’s hop! We will draw the lucky winner from the comments left on today’s design team posts (listed below), so be sure to visit everyone and leave a comment to be entered into the draw:
Jen Carter 
Amy Kolling 
Kirstie Goulet 
Becky Carafa 
Heather Pulvirenti 
Sylvia Blum 
Alanna Moses 
Debbie Eastman 
Denise Lynn


Finally, we would like to let you know that our friends over at StampNation are celebrating their 4th birthday this week and Whimsy Stamps is one of their sponsors! As well as giving away some great prizes, we also have a special offer for StampNation members - you can find details about this on the StampNation site. 


Thanks so much for stopping by today and I hope to see you here on my blog tomorrow for the second day of sneak peeks for the Clearly Whimsy Stamps January release :)

Sylvia xx


    Supplies

showCASe your style #6

Hi everyone and happy Saturday :)

After some chaotic weeks, I think (hope) I am back to normal, finally :-)


Today I want to show you my card for the brand new showCASe your style challenge :)

This time our challenge is to follow a color scheme. I love this color combo, because it's fresh, beautiful and reminds me of Spring!


For this card I used my beloved -and often used- "Happy Everything" stamp set from Clearly Whimsy Stamps together with my favorite inks from Imagine Crafts/Tsukineko.


I would be delighted if you decide to visit our showCASe your style challenge blog and take part!  You have two weeks to play along!

Can't wait to see what *you* will come up with! :) 

Please refer to the grey boxes below this post for a complete list of supplies :)

Thanks so much for stopping by today and I hope to see you here on my blog again, soon :)

Sylvia xx


    Supplies

    Challenges


Creative Inspiration with Imagine Crafts and Lawn Fawn

Badge_LawnFawn

Hi everyone and happy Thursday :)

This week IMAGINE Crafts is proud to feature the fun and amazing stamps from Lawn Fawn!  Our Artists In Residence are here all week to inspire you with their amazing projects using IMAGINE Crafts' products along with rubber stamps from Lawn Fawn. Be sure to visit both company's blogs daily for ideas, tips and techniques from our design teams.

Please visit the Imagine Crafts Blog to find step-by-step instructions incl. step-by-step pictures :)


Thanks so much for stopping by today and I hope to see you here on my blog again, soon :)

Sylvia xx


    Supplies


IMAGINE Crafts + Stampendous Blog Hop

Hi everyone and happy Tuesday :)

Stampendous and Imagine Crafts Header

Welcome to a week of fantastic collaboration between IMAGINE Crafts and Stampendous! We have to admit that our two companies were made for each other and we're proud to have shared a long relationship of working together.  After all, what are stamps with out ink?  The projects created by our artists this week feature IMAGINE Crafts Radiant Neon™ inks paired perfectly with coordinating colors of Fran•táge Color Fragments from Stampendous, along with some of their newest stamp designs and Stack Art kits.

Prizes galore for participating in the Blog Hop this week!

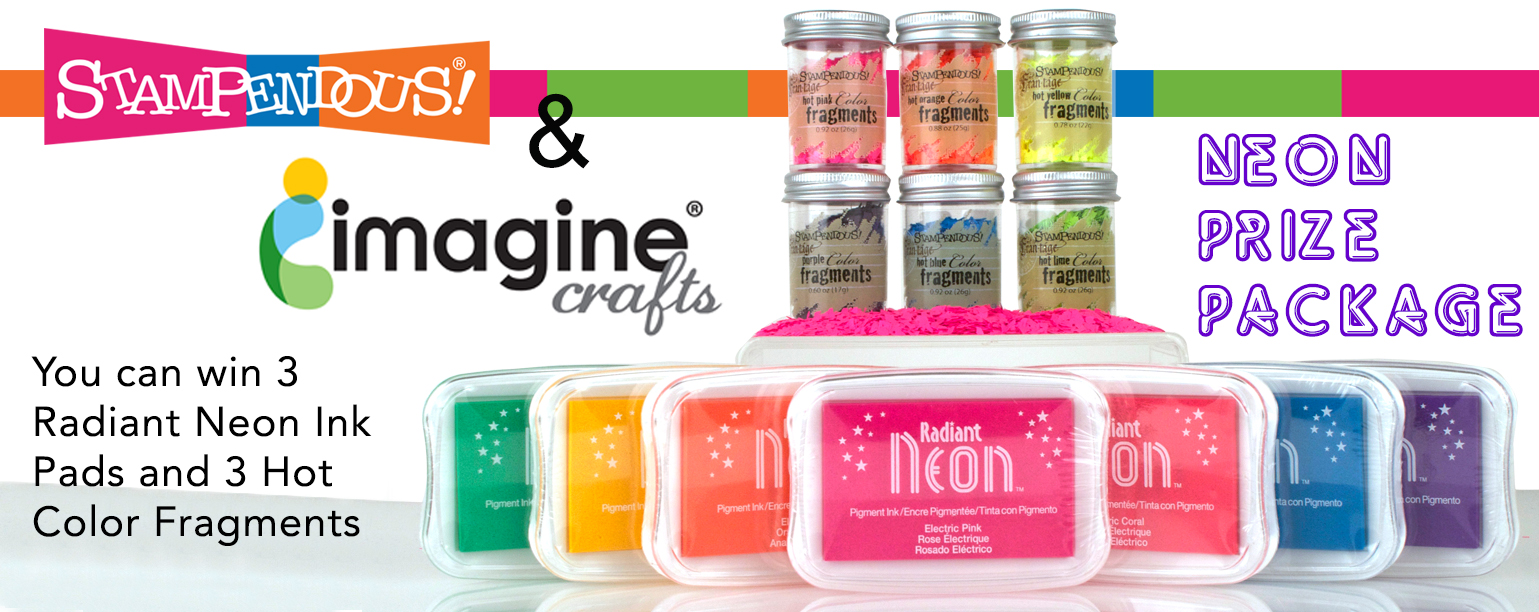
We'll be giving three prize packages of 3 Radiant Neon inks and 3 Fran•táge Color Fragments (we'll choose your colors). There will be a bright crafting future ahead of you! 

Each day we’ll post that day's participating artists.  Visit their blog and leave a comment by midnight PST May 25th.  We ‘ll randomly select three different blogs from the five days, then randomly draw one commenter from each blog. You must have a U.S. mailing address to win, but we’d love for everyone to hop and comment! You can check out the Official Rules for all our contests if you have questions.

STM Imagine Crafts Prize Package

So are you ready for some exciting inspiration?

Here's who is hopping today:

Kazuko Kocho

Jamie Martin

Maureen Cronin

Krissy Fossmeyer

Sylvia Blum (you are here)

Tenia Nelson

Cathy Andronicou


To visit a list of the previous posts that are part of this Blog Hop, 

please visit the IMAGINE Crafts Blog to find those links.


***Blog Hop Hint – if you click on a link that takes you to a page saying something like, “Sorry this page cannot be found,” just click on the header at the top of the blog (usually a picture, or the blog’s name), and it will take you to that blog’s most recent post. That post *should* be our hop. If not, you can probably scroll down a short way to find the hop post.


Ok.... and finally.... here is my project for this hop :) 
I hope you like it and feel inspired to get creative with Neons ;-)


Instructions:

Step 1:   Cover your workspace with IMAGINE Crafts Craft Mat!

Step 2:   Stamp circle ("Mish Mesh" by Stampendous) twice with Radiant Neon Electric Yellow onto white panel.

Step 3:   Stamp sentiment ("Cling Follow Art" by Stampendous) with Radiant Neon Electric Pink.

Step 4:   Use the dot part of the stencil (which comes as a bonus with the "Mish Mesh" stamp set!) and use an Ink Blusher to pick up some Radiant Neon Electric Blue and randomly apply onto the panel

Step 5:   Create top folded 5 1/2" x 4 1/4" card base from white cardstock.

Step 6:   Apply Creative Medium around the edges of the card front (do NOT let it dry, but continue with Step 7 immediately!)

Step7:   Generously pour "Fran•táge Color Fragments Hot Lime" by Stampendous onto the card base front to completely cover the "frame" you've created with the Creative Medium gel in step 5.

Step 8:   Lightly press the fragments down with your finger tips, then shake off the excess fragments (and just put it back into the jar for future use)

Step 9:   Mount stamped panel onto card base with dimensional foam pads

Step 10:  Embellish with green enamel dots

Please refer to the grey box below this post for a complete and detailed list of supplies :)

Thanks so much for stopping by today and I hope to see you here on my blog again, soon :)

Sylvia xx


    Supplies

CAS-ual Fridays April Release: Sneak Peek Day 2


Hi everyone and happy Tuesday :)


Today is our second sneak peek day for the brand new CAS-ual Fridays Stamps April release and the DT is featuring the brand new and super adorable "Linked Fri-Dies" set!


Dont't forget to check out what the other *amazingly talented* Girl Fridays from the CAS-ual Fridays Stamps Ink Squad and our wonderful guest ;-) designer -the one and only Michele- created with this Fri-Dies set! Please visit the CAS-ual Fridays Stamps store blog and you will find all projects and links! We hope you feel inspired by our creations :-)

Please refer to the grey boxes below this post for step-by-step instructions and a complete list of supplies :)

Thanks so much for stopping by today and I hope to see you here on my blog again, soon! :)

Sylvia xx


    Instructions

    Supplies

Radiant Neon Blog Hop


Hi everyone and happy Friday :)

Welcome to the CardMaker / IMAGINECrafts Radiant Neon Blog Hop!

I am so excited to be part of this hop and thrilled that you stopped by to hop along with us!

And I am sure you will not be disappointed, because there are a lot of gorgeous inspirational projects awaiting you along the hop! :)

In case you didn't come here during the hop, you can jump over and start at the CardMaker Blog. 


Of course there is also a super prize to win along the hop! :) You can read all about the details and rules over at the IMAGINECrafts Blog.
(date expired + prize drawn, but of course you still can hop along and get inspired by the beautiful creations from the super talented hop participiants :) )


The card I am sharing with you is simple, yet stunning because of the gorgeous Neon inks and the contrast of the glowing colors against the white!


And here are the how-to's


Step 1:
Use a sponge dauber, pick up some Radiant Neon Electric Yellow ink and dab it onto the center of your flower stamp (from CAS-ual Fridays Stamps "Mums the Word" stamp set)


Step 2:
Use another sponge dauber to pick up some Radiant Neon Electric Coral ink and dab it onto the stamp, carefully blending into the yellow as you apply the ink


Step 3:
Again, use a sponge dauber and load it with Radiant Neon Electric Pink ink. Apply the pink ink to the outer areas of the stamp, blending the ink into the Coral as you dab it on.


Step 4:
Stamp the flower (from CAS-ual Fridays Stamps "Mums the Word" stamp set) onto a 3" x 4 1/4" panel of white cardstock. Repeat until you have stamped three flowers.


Step 5:
Stamp sentiment (from CAS-ual Fridays Stamps "Mums the Word" stamp set) with Memento Tuxedo Black onto the lower third of the panel


Step 6:
Mount focal panel onto white top folded card base (4 1/4" x 5 1/2") with dimensional foam tape + embellish with blue enamel dots


I hope you enjoyed this mini tutorial on how to ink your stamps with more than one of the gorgeous Radiant Neon colors :)


And here are my words for you:
THANK YOU


Your next stop on the hop is Imagine Crafts lovely and very talented 
Naghma Husain! 


In case you want to start over or got lost along the hop, you can hop over to the CardMaker Blog and start there!   

To read all about the details and rules of this blog hop, please visit the IMAGINECrafts Blog!


Thank you so very much for stopping by today! I hope to see you again, soon :)

Sylvia xx

Amazeballs Birthday Card (AIR Project)


Hi everyone and happy Friday :)

Today I am up with my next project as an "artist in residence" on the IMAGINE Crafts blog!

This time I have used the new "Radiant Neon" inks! I just LOVE these bright neon pigment inks from IMAGINE Crafts/Tsukineko! They are looking great on either white/light or dark/black cardstock!

You can find a detailed supply list along with pictured step-by-step instructions on the IMAGINE Crafts blog!


Thanks so much for stopping by today and I hope to see you here on my blog again, soon :)

Sylvia xx